Difference between revisions of "Tykiigron Array"
Jump to navigation
Jump to search
(Addendum to other edits: also added Tyler's spectacular artwork for the installation. Yet another great job by Tyler.) |
|||
| Line 3: | Line 3: | ||
==Construction== | ==Construction== | ||
The Array is described as being comprised of a large quantity of large spheres, each 20,000 meters in diameter, linked together with struts. It is often visually compared to the [https://en.wikipedia.org/wiki/Ball-and-stick_model | The Array is described as being comprised of a large quantity of large spheres, each 20,000 meters in diameter, linked together with struts. It is often visually compared to the [https://en.wikipedia.org/wiki/Ball-and-stick_model ball-and-stick model] of atomic structures. One moderately larger sphere is located deep within the nebula at the Array's center, and is postulated to be the location of its power source. This central sphere was where the Insanity Hub was located. | ||
[[Category:Locations]] | [[Category:Locations]] | ||
[[Category:Currai Imperium]] | [[Category:Currai Imperium]] | ||
Revision as of 23:54, 22 November 2018
The Tykiigron Array is a defunct Imperium FTL comm-relay located in a nebula orbiting the Burel-5 star. It was the location of Ashreksas's Insanity Hub and the final battle of the Hivemind Crisis.

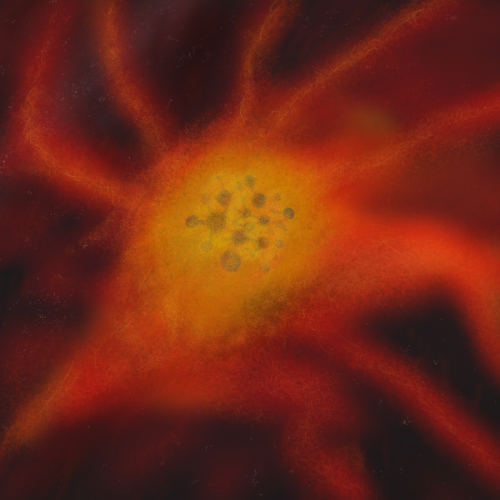
The Array as drawn by Tyler.
Construction
The Array is described as being comprised of a large quantity of large spheres, each 20,000 meters in diameter, linked together with struts. It is often visually compared to the ball-and-stick model of atomic structures. One moderately larger sphere is located deep within the nebula at the Array's center, and is postulated to be the location of its power source. This central sphere was where the Insanity Hub was located.